Spring and summer are the best periods for change in the house. But truth be told, whatever season it is, no one wants to just stare at the bare green grass or plop of ugly brown dirt in the backyard or front yard.
Discover the designer in you and spruce up your garden, front yard, back yard, or patio. The DIY Path Maker allows you to create instant walking space with an easy-to-use mold that injects some character and texture to your living area. No need to call the landscaper or hire a professional team: all you need is some cement.

Specifications:
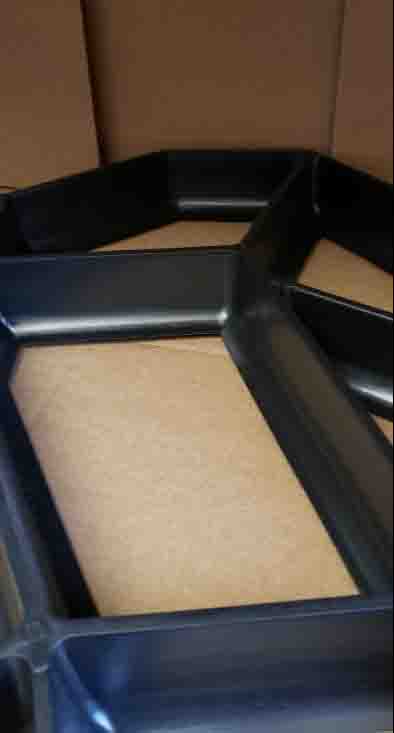
🧱 Fun and Crafty: Designed for garden lovers (and everyday people) who want to add character to their garden or patio.
🧱 Do It Yourself: Who needs a professional landscaper that costs an arm and a leg? This walkway mold is easy to use, even if you have no landscaping experience. Simply get your cement or concrete mix in place and press the mold over for instant blocks that form a pathway.
🧱 Sturdy and Reusable: Made of high-quality plastic, the pathway mold holds up to the toughest of concrete or cement. And when all the work is done, just clean the mold with water…and reuse it whenever you need it again.
🧱 A Natural Look: This DIY mold creates a natural-looking stone-block pattern for a touch of elegance to your backyard or garden.

Product Details:
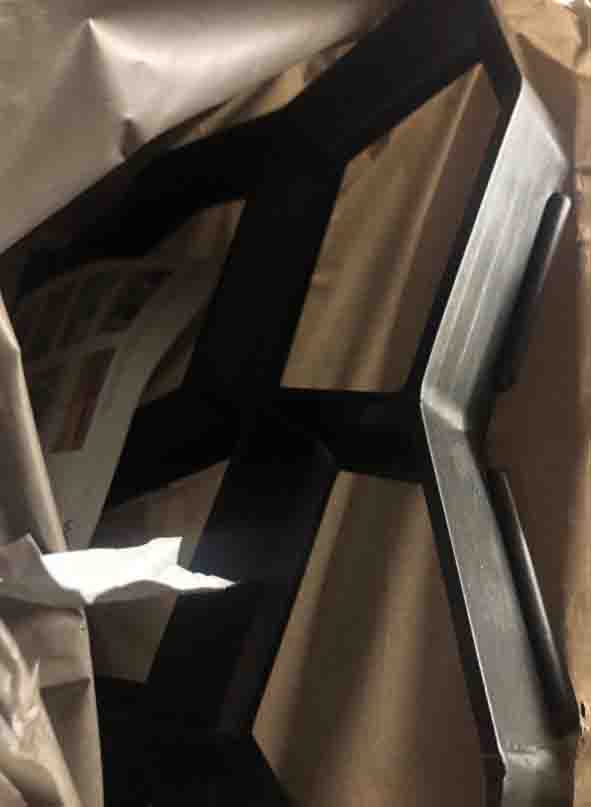
- Color: Black.
- Size: 14.1 x 14.1 x 1.5 in / 36 x 36 x 4 cm
- Material: Polypropylene (Thermoplastic)
We’re committed to providing you the best in home decor and design solutions without breaking the bank (or back). This DIY Path Maker is the perfect gift for a new homeowner or garden lover. Get it now during our limited-time sale!
SHIPPING AND DELIVERY
We are proud to offer international shipping services that currently operate in over 200 countries and islands world wide. Nothing means more to us than bringing our customers great value and service. We will continue to grow to meet the needs of all our customers, delivering a service beyond all expectation anywhere in the world.
How do you ship packages?
Packages from our warehouse in China will be shipped by ePacket or EMS depending on the weight and size of the product. Packages shipped from our US warehouse are shipped through USPS.
Do you ship worldwide?
Yes. We provide free shipping to over 200 countries around the world. However, there are some locations we are unable to ship to. If you happen to be located in one of those countries we will contact you.
What about customs?
We are not responsible for any custom fees once the items have shipped. By purchasing our products, you consent that one or more packages may be shipped to you and may get custom fees when they arrive to your country.
How long does shipping take?
Shipping time varies by location. These are our estimates:| Location | *Estimated Shipping Time |
|---|---|
| United States | 10-30 Business days |
| Canada, Europe | 10-30 Business days |
| Australia, New Zealand | 10-30 Business days |
| Central & South America | 15-30 Business days |
| Asia | 10-20 Business days |
| Africa | 15-45 Business days |
Do you provide tracking information?
Yes, you will receive an email once your order ships that contains your tracking information. If you haven’t received tracking info within 5 days, please contact us.
My tracking says “no information available at the moment”.
For some shipping companies, it takes 2-5 business days for the tracking information to update on the system. If your order was placed more than 5 business days ago and there is still no information on your tracking number, please contact us.
Will my items be sent in one package?
For logistical reasons, items in the same purchase will sometimes be sent in separate packages, even if you've specified combined shipping.
If you have any other questions, please contact us and we will do our best to help you out.
REFUNDS & RETURNS POLICY
Order cancellation
All orders can be cancelled until they are shipped. If your order has been paid and you need to make a change or cancel an order, you must contact us within 12 hours. Once the packaging and shipping process has started, it can no longer be cancelled.
Refunds
Your satisfaction is our #1 priority. Therefore, you can request a refund or reshipment for ordered products if:
- If you did not receive the product within the guaranteed time( 45 days not including 2-5 day processing) you can request a refund or a reshipment.
- If you received the wrong item you can request a refund or a reshipment.
- If you do not want the product you’ve received you may request a refund but you must return the item at your expense and the item must be unused.
We do not issue the refund if:
- Your order did not arrive due to factors within your control (i.e. providing the wrong shipping address)
- Your order did not arrive due to exceptional circumstances outside the control of diigot (i.e. not cleared by customs, delayed by a natural disaster).
- Other exceptional circumstances outside the control of https://diigot.com
*You can submit refund requests within 15 days after the guaranteed period for delivery (45 days) has expired. You can do it by sending a message on Contact Us page
If you are approved for a refund, then your refund will be processed, and a credit will automatically be applied to your credit card or original method of payment, within 14 days.
Exchanges
If for any reason you would like to exchange your product, perhaps for a different size in clothing. You must contact us first and we will guide you through the steps.
Please do not send your purchase back to us unless we authorise you to do so.
A few reasons why buy from us:
 Our reviews are verified for authenticity
I just got the walk maker and started building my walkway. I couldn't be happier with the turnout.
Very good purchase, you won’t regret! These form worked great for us and fast! It was very fun to build a project with the form and I know the form will last through future projects. Make sure to wash between uses to keep the concrete from drying. You can use a wet sponge to remove the mold and keep it clean.
I'm using this for my backyard project. Going to end up paving my entire back yard area. They are coming along great. The only lengthy process is mixing the crack-resistant cement, pouring it into the molds, and packing it in so that it fills the entire mold section and doesn't leave gaps. Once I let it sit for a few minutes, I simply lift the mold up after lightly tapping and shacking the mold to free the concrete, then I hose the mold off of any concrete that has stuck to it and ready for the next batch. The mold is thick so it is very durable. Just be sure to alternate the patter by turning the mold a 1/4 turn each time you lay down the mold. I really like this mold and I'm glad I bought it.
Ok – I’m a girl with no ( none, nada ) previous experience with working with concrete – and these things are super easy – I bought the quick crete- it was like 4.35 a bag and I did it! Soooo I bought 2 molds and 4 bags of concrete and made about 10 feet of wall way with it ………. I added a little water on top to make them smoother and I sprayed the mild with PAM cooking spray to release it and sprayed them off each time !!! I’ll add a picture – they aren’t perfect but it was fun and I learned a lot! Gonna go buy more concrete!
1 90 pound bag of cement is enough for 3 molds. I let the cement set for 15-20 min then removed and continued with the rest. Worked perfectly! I`m really happy with this order!
Nice pattern for the walkway. I might opt for one with larger blocks next time but that has more to do with taste. No complaints about this paver system.
This was the coolest mold ever! I can’t believe how easy and beautiful concrete could be!
Nice pattern. Like the small size. Quick to pour. I highly recommend this product!
Mold is very solid, well-shaped, and will work great for what I need. You can mix up the pattern or keep it consistent with this mold.
Great product. Easy to use. Time-saving!
I did a walkway nice 👍 🙏
Just finished ours. Love it!!!
Was just what it said it would be. Great do-it-yourself project!
Absolutely love this!!!! Used it to stencil my patio and it looks amazing!
We painted our sidewalk and porch and people think it is real rocks. Looks awesome.
I absolutely loved it. I purchased 2 in order to make more progress.
I haven't used it yet, but the heavy-duty quality is outstanding. Very solid.
Used this to build a patio for a fire pit and worked perfectly. I just need to finish it now...
I love how easy it is to use this product. I will recommend this product, even to the beginners.
Fantastic product! We used and abused it! A couple of tips... *use baking spray to oil them before pouring concrete. *if you want to use your mold more then once for the day buy instant drying concrete. *make sure you smooth over each top down to where you can see the black outline of the mold. If you don’t do this you will get weird tops on the molds. *make the concrete as watery as possible. It makes for smooth tops. *To make a turn we filled in the gap between 2 of the molds by using a piece of wood so the concrete did not leak out. Creating another block.
I love this stone walkway mold. It is so simple to use. Each side has either an “out” or “in” pattern. Simply match your next section so it interlocks. Turn your pattern 1/4 turn each time to achieve a more random look. Curves are simply made by aligning the mold to the last poured section, pressing the mold down, remove mold, and remove excess concrete. To make sure these look like random stones, use a trowel to smooth out the sharp edges. I have used both soil and gray-colored mortar to fill in the spaces between the ‘stones’.

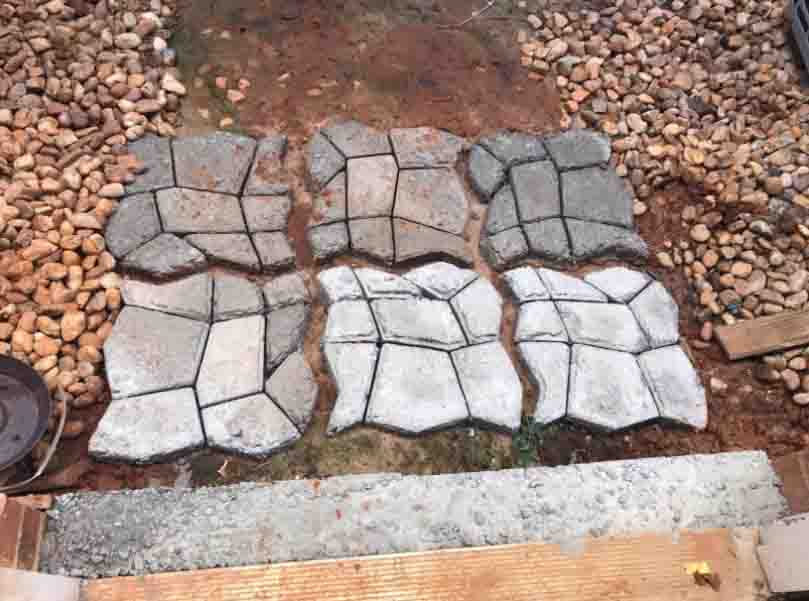
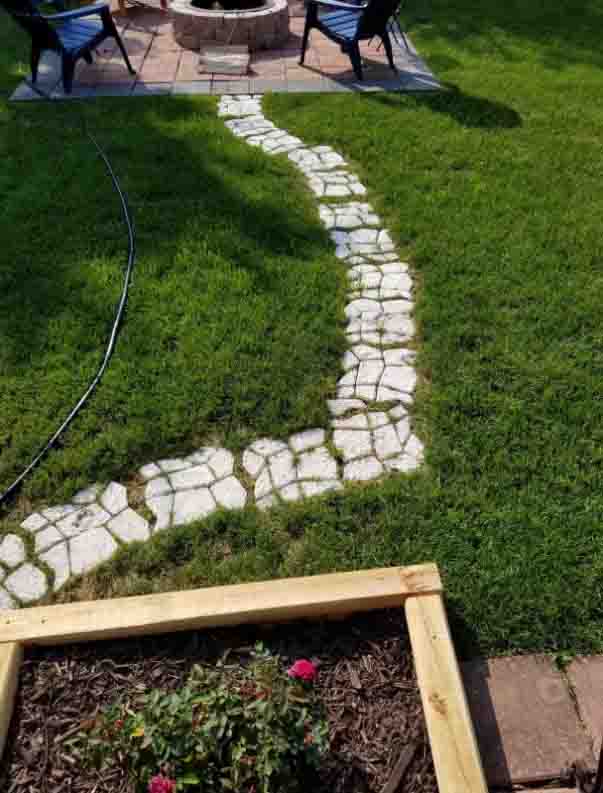
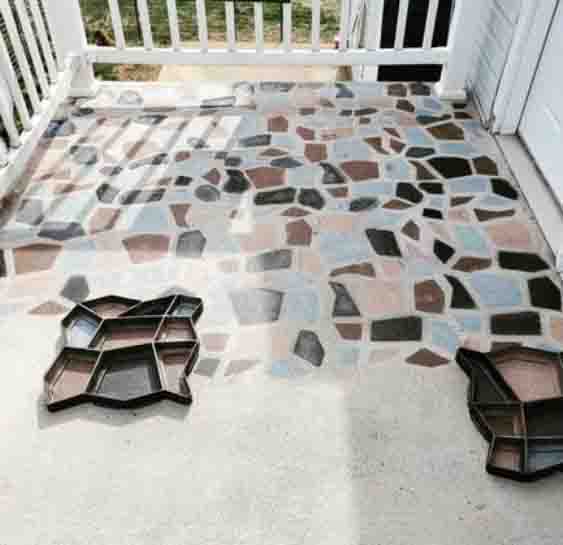
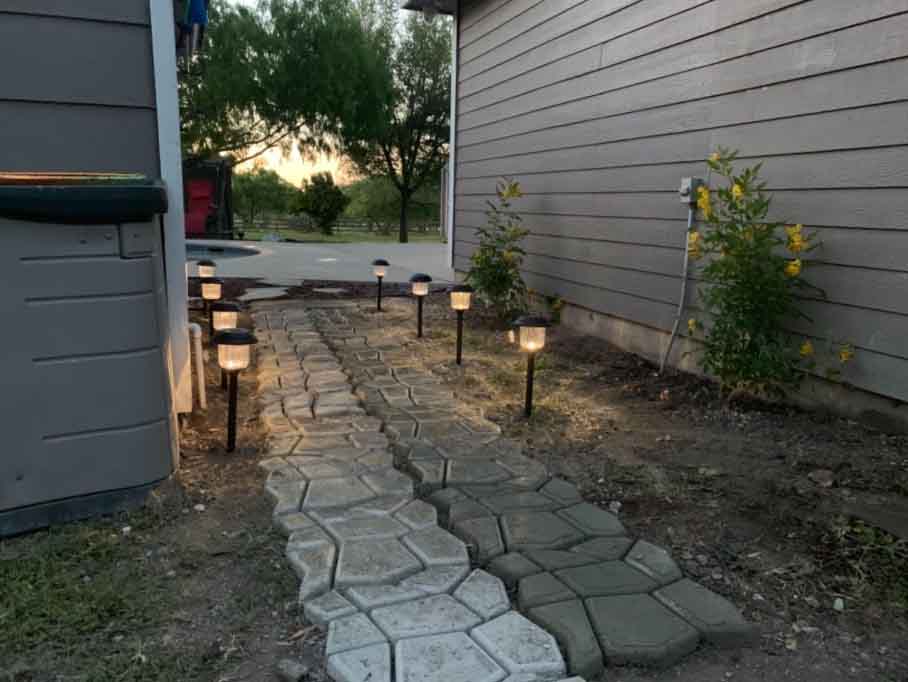
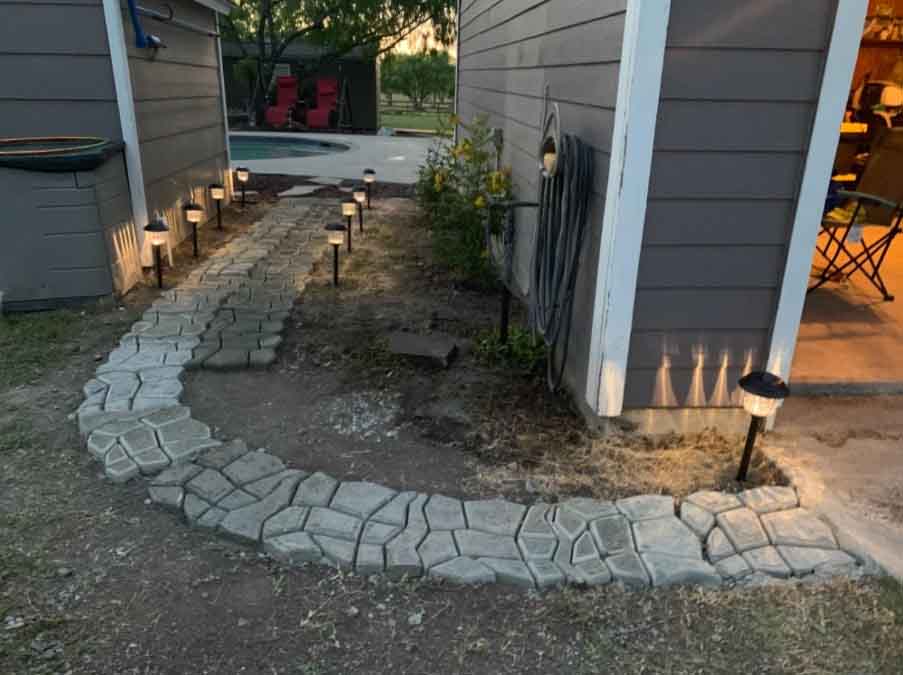
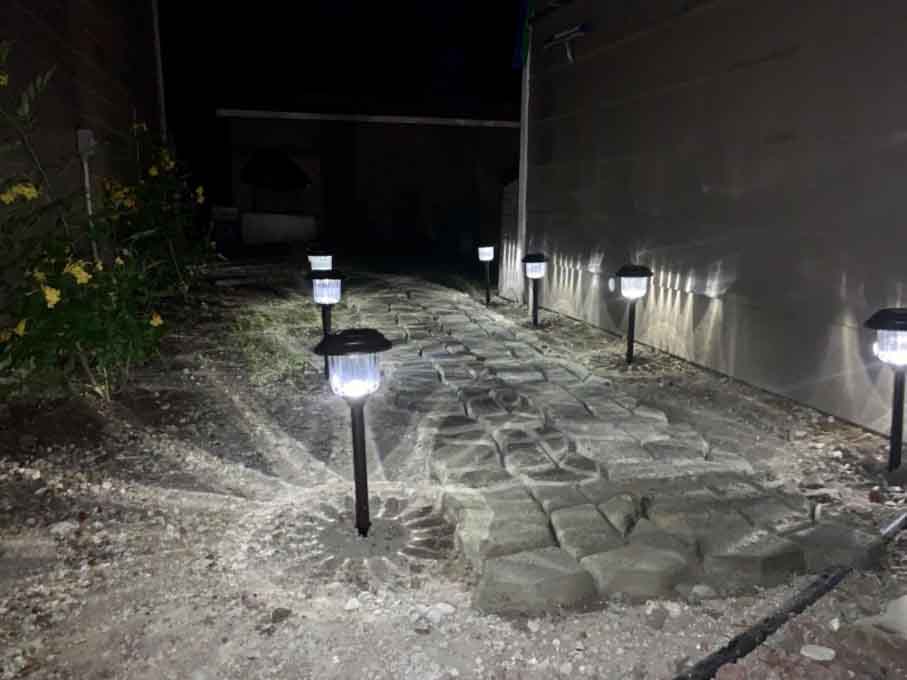
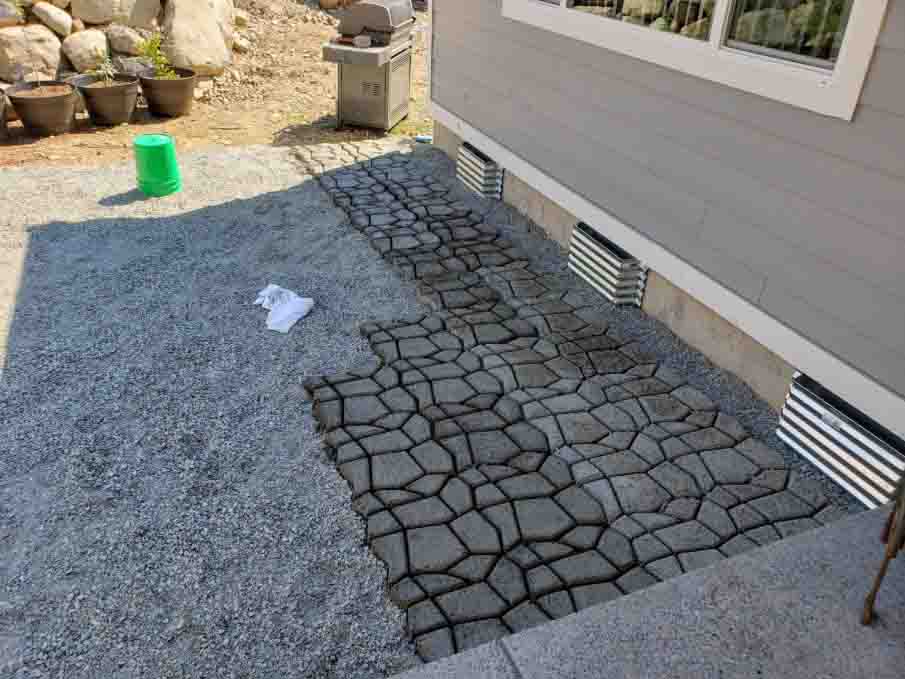


We lived it came out awesome 👌